Screencasting lets you create tutorials and presentations by recording a video of your screen. There are several Mac screen recorder applications that you can use for this. Some are available for free, while some you can get for a specific cost. They also come with various features. There are screen recorders that support adding of audio files or voice over, as well as those that come with built-in video editor.
10. Screenium
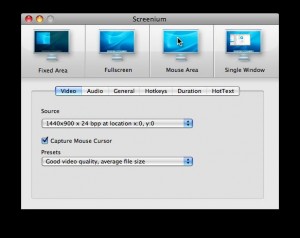
This application is available for $39.99. Screenium lets you record your screen in four different modes. This includes capturing the entire screen if you want the whole Mac window to show on the video. You can also choose to capture only a specific window, if this is what you want to focus on. You may also select a specific area on your screen or record the areas where your mouse goes. This software comes with a built-in video editor. This is convenient, as you do not need to use a third party program for basic editing. Add texts, shapes, chapters and effects without difficulties and make your video more presentable.
9. Camtasia
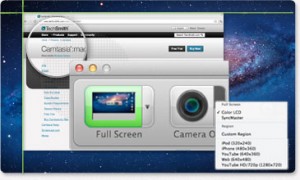
For $99.00, you can get this screen recorder that will let you create fantastic presentations. Record anything that you see on your screen so your audience will understand better what you’re trying to discuss. You can choose to record your full screen, a specific window or only a certain spot on your screen. It has a Smart Focus feature, which automatically detects where your mouse is. When a text is entered on the screen, it will automatically focus on that area. Add tilt effect on your video, as well as texts, speech, bubbles, shapes and other effects. You may also emphasize your mouse clicks by highlighting or magnifying whenever you do a click. Videos created using this program can be played on almost any device as it automatically detects if its supports HTML 5 or Flash.
8. Jing
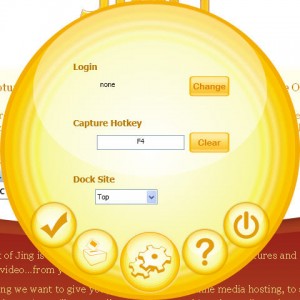
This is a simple and easy to use application for capturing, as well as recording your screen. If you wish to capture images on your screen, a simple click on the area that you wish to capture will make it happen. Add caption, arrow, highlight or box if you want to emphasize on specific things. To record your screen, select the window or the area that you wish to record. Once done, you can share or upload it immediately. Videos are saved on SWF format.
7. ScreenRecord
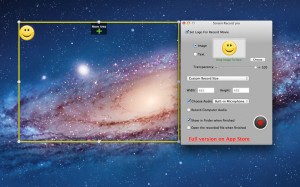
This application has an easy to use interface. You don’t need to be tech savvy to learn how to use it. It is straightforward that seeing it for the first time would immediately tell you what the buttons are for. Choose in which folders you wish to save the captured video, which is saved as a Quicktime movie. Select the size and area of the screen to capture and include date and time. You may also include audio background using a microphone that is either built-in or connected to the computer. Videos can also be exported to other formats. Furthermore, movies can be shared and uploaded immediately without processing. You can get this for $14.95. It also comes with a free version, though this one can only record up to 200 seconds of video.
6. CaptureIt!
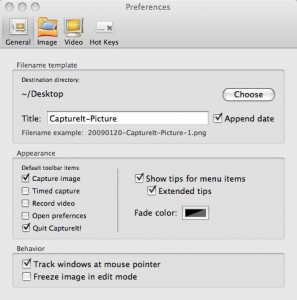
This is an easy way to record a video of your screen. Drag the selection box on the area that you wish to record or select the windows that you wish to be included on the recording. It also offers Timed Capture feature so you can capture between videos and screenshots. Adjusting the settings to your preference is easy by accessing the options menu. The options are easy to understand so you can easily choose the settings you prefer. This runs even on older versions of Mac.
5. ScreenMimic
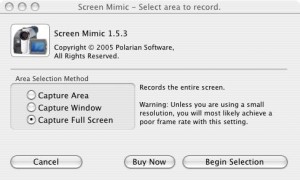
You can get this application for $65. The interface is easy to understand and it provides various options that you can choose for recording the best video on your screen. Choose if you want to record the entire window, a specific window or a selection on your screen. You also have the choice to show the movement of your mouse, as well as highlight the clicks. If you choose to highlight the clicks, you may select on the color of the highlight. Use a voiceover or a background music on your video. Save the video in SWF, FLV or MOV format. There is also an option to record immediately or after a specific time you specified.
4. Screenflick
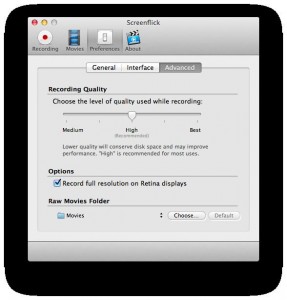
Get this application for $29.00 and enjoy recording videos of your screen with great convenience. Select the size, as well as the area of the screen to capture. Highlight mouse clicks and key presses so viewers can see them easily. This is perfect for creating tutorials. Add audio on your video recording using an internal or external microphone. It provides preview of the video so you can decide if you want to proceed with the export or not. Save it in different formats including Quicktime, MPEG and F4V movies. It has a feature that lets you create a time lapse of a long video you captured. You may pause the recording if you need to for some reason then resume when you are ready.
3. Snapz Pro X
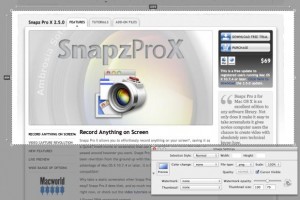
This application is available for $69 and it lets you capture the full screen or only a part of it, whichever you prefer. Select the appropriate frame rate for your video and choose if you want it to follow the movement of your mouse. The live preview will show you what has already been recorded so you can determine if you want to continue with the recording or if you want to create a new one. Decide if you want the audio to be included together with the video or not. You have more control with your recording with this application.
2. Screenflow
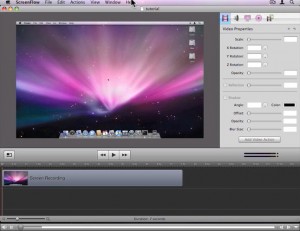
You can get Screenflow for $99.00 and take advantage of its fantastic screencasting features. Record the part of screen you want and choose if you wish to include a voiceover or an audio file from your computer. Select and use from its various effects to improve your recording. It supports 2D and 3D transitions, captions in multiple languages and zoom function. It creates high quality and clear videos without taking much space on your computer. In fact, this application is very lightweight saving space on your Mac.
1. iShowU
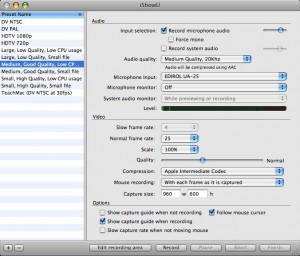
Get this application for $64.99 and record videos on your screen conveniently like a pro. Record full screen or drag the selection box to determine the part of the screen that you wish to capture. Click the record button and start recording immediately. Add audio on your video using saved files on your computer or using a microphone. Once done recording your video, it is ready for publishing or sharing as it does not require encoding. Furthermore, it has a recording timer that lets you record the screen and stop on specified time.
Leave a Reply